
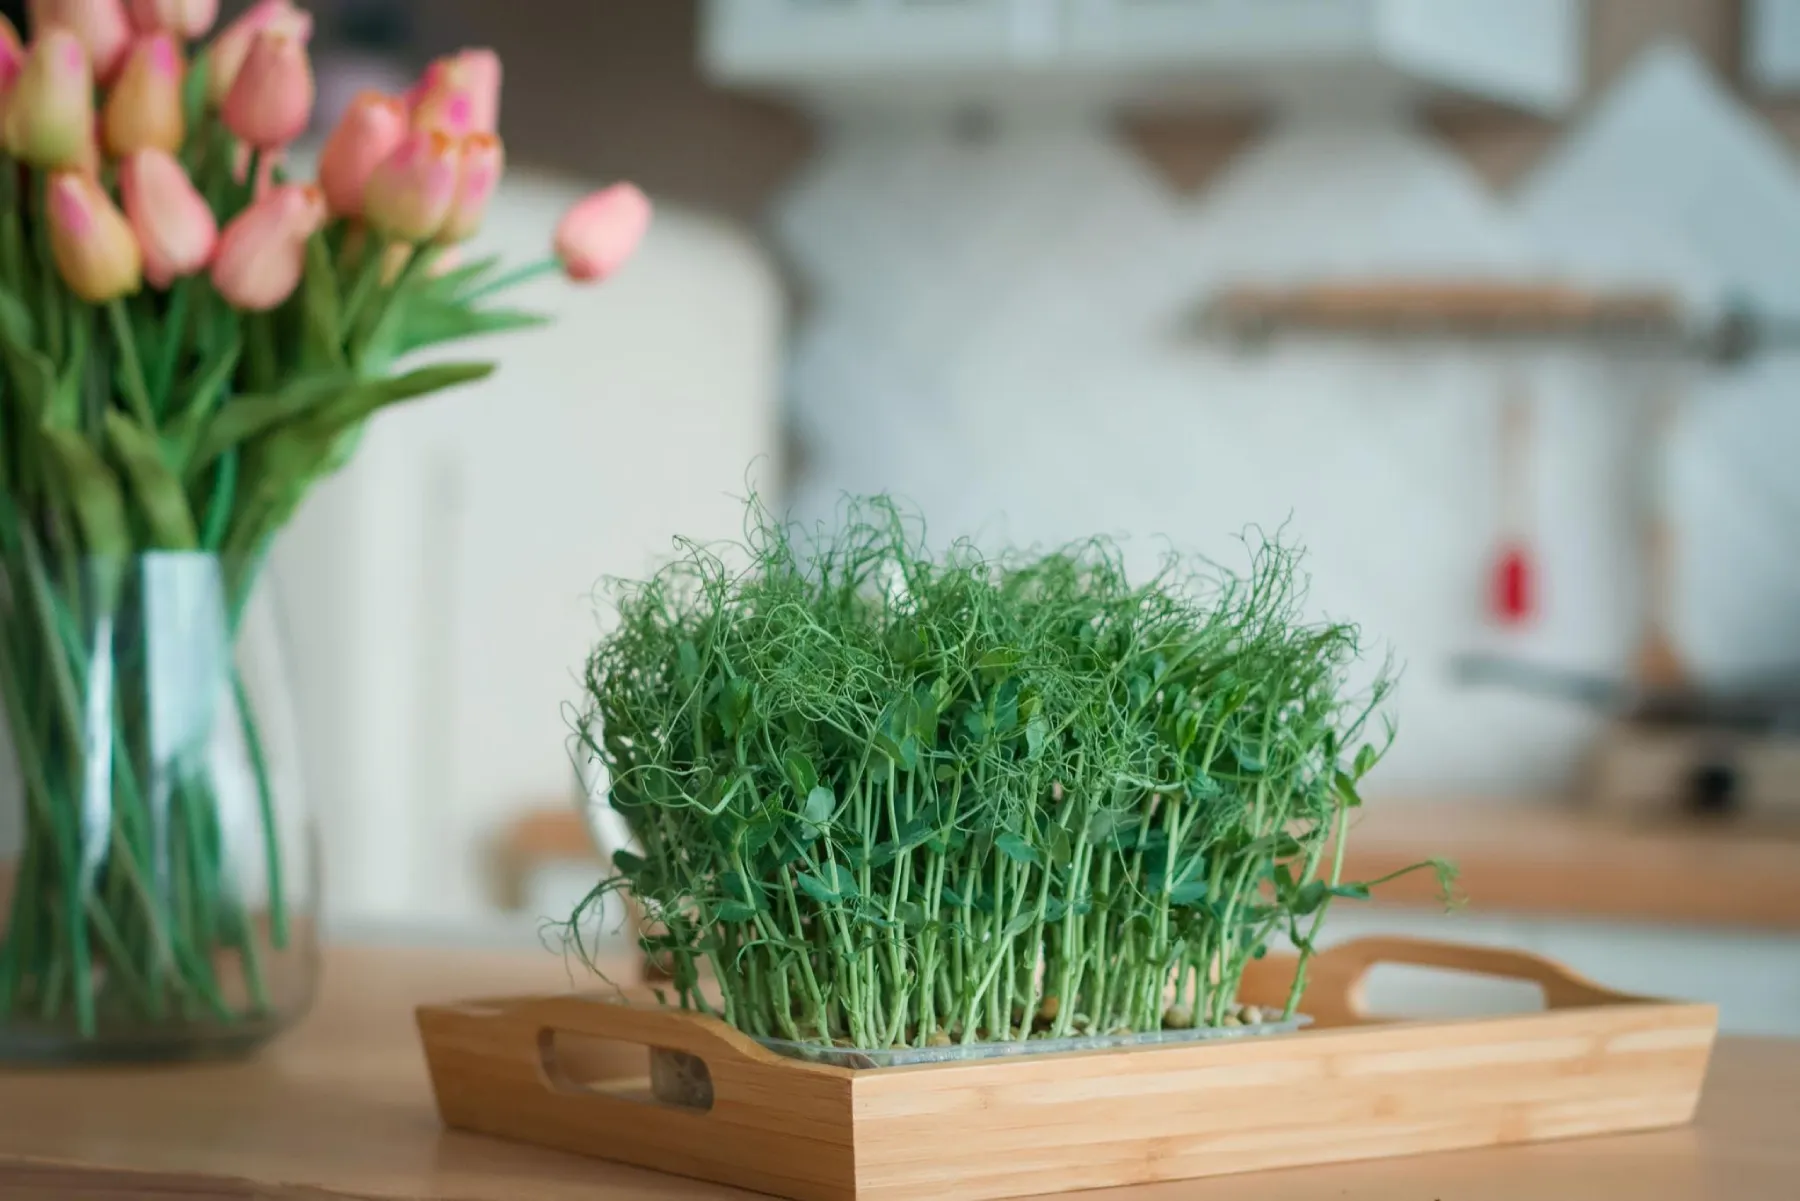
Microgreens have become a real trend in recent years — and not without reason. They combine freshness, flavor and nutrients in a very simple form.
The current trend towards microgreens has made it easier for everyone to start growing microgreens. Microgreens are not only incredibly cheap and quick to grow compared to mature vegetables, but they are also much more nutrient-dense and flavorful.
Many people discover microgreens as a way to eat healthier without great effort. They can be grown year-round and fit perfectly into a modern, conscious lifestyle.
Microgreens are young plants that are harvested just a few days after germination. At this stage, they contain particularly many nutrients and at the same time have an intense flavor.
Depending on the variety, they can be mild, spicy or even slightly pungent — from broccoli to peas to arugula or radish.
Are microgreens easy to grow?
Yes, microgreens are generally easy to grow, which makes them a popular choice for beginners. Here are the reasons why they are considered easy to grow:
- Fast growth: Microgreens have a short growth cycle compared to mature plants. Most microgreens are ready to harvest within 1 to 3 weeks after sowing, depending on the variety. Thanks to this short lead time, you can enjoy your home-grown microgreens relatively quickly.
- Low space requirements: Microgreens can be grown in a small space, for example on the windowsill, balcony or countertop. You don't need a large garden or outdoor area to grow them, making them suitable for city dwellers and people with limited space.
- Low maintenance: Microgreens require no elaborate care. They are less susceptible to pests and diseases compared to mature plants, and thanks to their short growth cycle, you don't need to invest much time in their care. Nevertheless, they are plants, so you need to care for them daily and know the basic rules of cultivation to avoid mold or other diseases.
- Minimal equipment needed: You don't need extensive specialist equipment to grow microgreens. Basic equipment such as containers, soil, water and light sources (like a sunny window or a simple grow light) are usually sufficient.
- Variety of growing media: Microgreens can be grown in various growing media, including potting soil, coconut fiber, vermiculite and even on kitchen paper. This flexibility allows you to choose a growing medium that suits your preferences and resources. PRO TIP: Please do not use soil directly from the field — it is not clean enough to grow microgreens on.
- Indoor cultivation: Since microgreens are harvested at an early stage, they can be grown indoors year-round, regardless of outdoor weather conditions.
- Experimentation: Growing microgreens is an excellent opportunity to experiment with different plant varieties and flavors. You can try to grow a variety of microgreens to find your favorites.
How to grow microgreens at home
Follow these basic steps to start growing microgreens:
- Choose seeds: Choose the type of microgreens you want to grow. Common varieties include Arugula, Radishes, Sunflowers, Mizuna, Broccoli or Pea. Seeds for microgreens must be fresh, properly stored, of good quality and have as high a germination rate as possible. When you order seeds from us, you can be sure that all these criteria are met.
- Soaking (if required): For some seeds, it is advantageous to soak them before planting. Check on the seed packaging or in gardening guides whether soaking is required for the seeds you are using
- Sow seeds: Distribute the seeds evenly over the surface of the growing substrate. Press them gently into the substrate without covering them too deeply.
- Dark phase: Place a tray or another container over the sown seeds to create a dark phase. This promotes seed germination through darkness and moisture. Remove the cover once the seeds have sufficiently germinated.
- Light supply: Place the container in a well-ventilated location with sufficient sunlight or use a grow light. Microgreens need good light to grow well.
- Watering: Water the seeds to keep the growing medium moist. Avoid overwatering and spraying from above, as this can lead to mold formation.
- Harvest: Once the microgreens have developed their first true leaves and reached a desired height (usually 2.5 to 7.5 cm), you can harvest them by cutting them just above the soil.
Overall, growing microgreens can be a rewarding and relatively simple gardening project that allows you to enjoy fresh and nutrient-rich greens in a short time.
Getting started with growing is easier than many think.
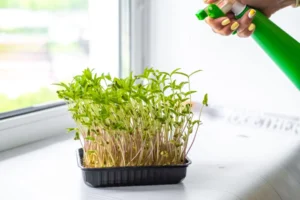
👉 Seed quality is important: good microgreen seeds have a high germination rate and are specifically suitable for consumption.
Learning instead of making mistakes
Many beginners make small mistakes at the beginning — too much water, too little light or incorrect seed density. Our seeds are specially selected, have a high germination rate and are suitable for both microgreens and the garden or balcony.
Not all seeds are equal. For microgreens, only high-quality, untreated Seeds can be used.
That is why more and more people are choosing structured learning opportunities. In our Microgreens course you learn step by step how to achieve perfect results — from seed selection to harvest.
Use the code GREEN10, to receive a discount on the course.
Microgreens can be integrated into everyday life incredibly easily. They go well with salads, bowls, sandwiches or smoothies and bring freshness and nutrients to the plate.
Microgreens are a simple and effective way to live healthier.